![Install, Preview, Publish and Test Google Tag Manager [Step 3 of 4]](https://mashmetrics.com/wp-content/uploads/2019/12/Install-Preview-Publish-and-Test-Google-Tag-Manager-Part-3-of-4.png)
- Best steps to setup a “AAA” Google Analytics Property
- Best steps to setup a “AAA” Google Tag Manager (GTM) container
- [Install] and Publish changes to start seeing the results!
- Installing and Publishing for WordPress
- Installing and Publishing for other sites
- Notes for eCommerce Sites
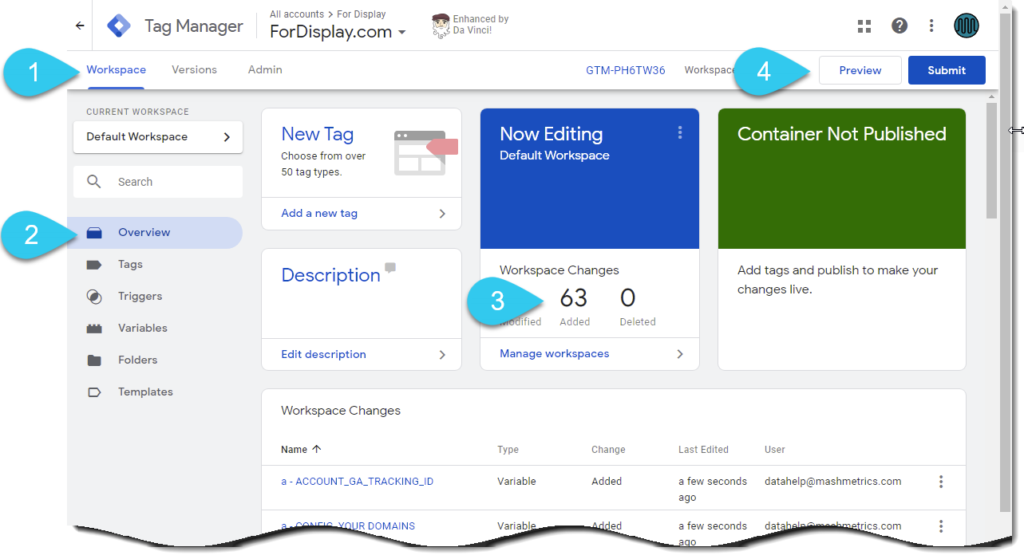
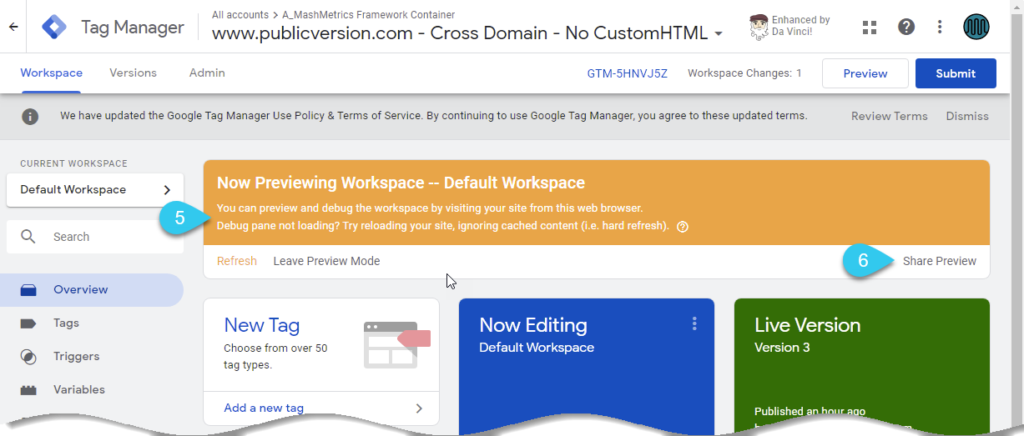
- Previewing changes made in GTM
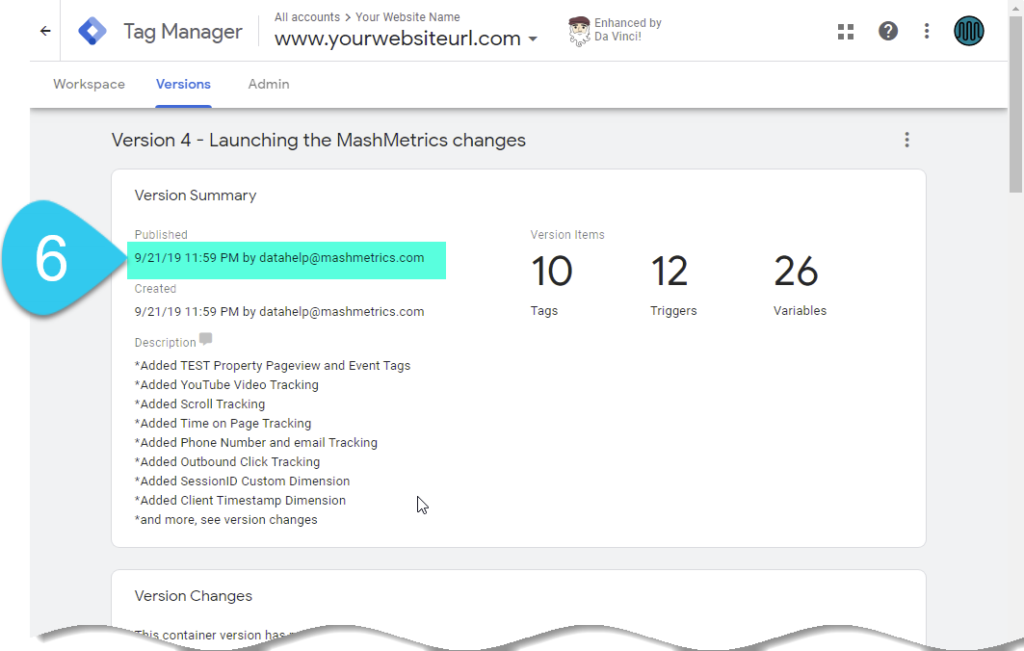
- Publishing changes made in GTM
- Customizing your Google Analytics View Settings
[Step 3] Installing, Previewing and Publishing Google Tag Manager
3.a Generic option to add GTM on any website (or web page)
To add Google Analytics or Google Tag Manager to any website drop the code near the opening <head> tag and the second portion of the code near the opening <body> tag.
3.b Options to install Google Tag Manager on WordPress
There are many plugins that can aid this process and install the tracking code for you. We tend to like the DuracellTomi’s Google Tag Manager for WordPress plugin.
To add Google Analytics or Google Tag Manager to WordPress without a plugin you can edit your theme’s header.php file and drop the code near the opening <head> tag and the second portion of the code near the opening <body> tag.
3.c Notes of Caution for eCommerce websites
These instructions, while already quite extensive, do not cover additional steps needed to track eCommerce metrics such as Revenue, Transaction Rate, Top Products and more. SaaS systems like Shopify and Magento (along with WooCommerce which is supported by the plugin above) have good built in an amazing plugins available to get you going with little development.
The settings in this article in many ways should be made in addition to other eCommerce configurations. While the container provided is designed to work for any website, including Shopify and Magento, there may be small tweaks needed (shutting off the “pageview” tag in GTM for instance).


1 Comment. Leave new
[…] [Install] and Publish changes to start seeing the results! […]